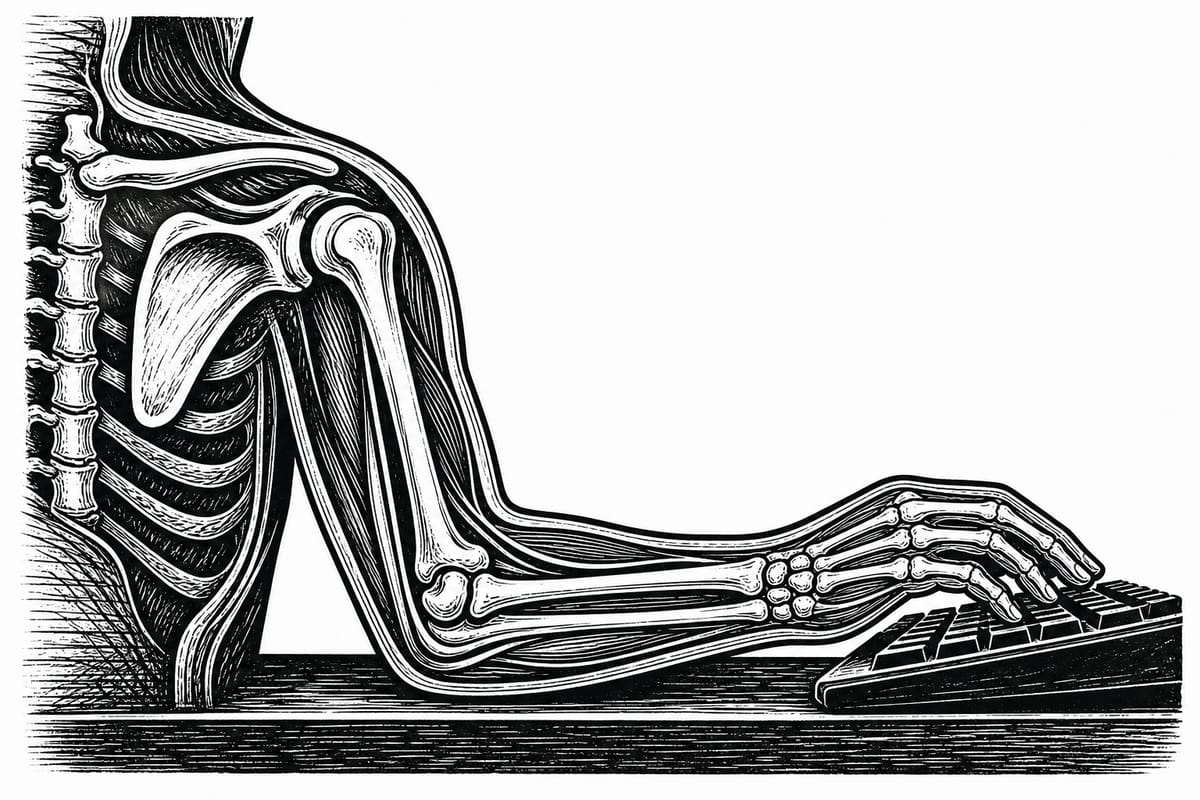
The idea
Two weeks of scales will have told you where your tension lives. This lesson is about why it is there.
There are two hundred years of argument about how to touch a piano, and almost all of it splits along one axis: does the arm serve the hand, or does the hand serve the arm? Every book on the reading list is somewhere on that line. You do not have to settle it. You have to know it exists, so that the next time a video tells you there is one correct way to press a key, you know what school is talking and what it costs.
What is settled is smaller and more useful than the argument. Loud attacks are only available by striking. The softest ones are only available by pressing. Speed is predicted by how fast your elbow moves, not your fingers. And the beautiful tone you hear in a professional's playing is almost entirely which note in a chord is loudest and how the onsets are spread, which is a velocity decision and is completely under your control.
Greg's whole touch fits in one sentence he got from Herbie Hancock in 2012 and has taught ever since: never press.
Watch
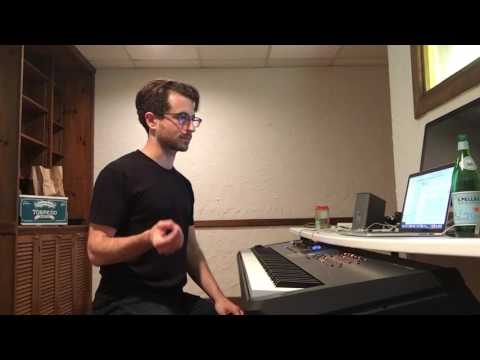
How to avoid tendinitis playing piano
- [00:13] Greg had tendinitis from high school, from overplaying and playing the wrong way. He immediately corrects himself: overplaying is a misnomer, because "if you play with the correct technique you can play all day every day."
- [01:10] The posture calibration. Stand up, reach the crown of your head toward the ceiling until the whole body is straight, then sit down from there and keep the head reaching. You can look at the keys, the back stays where it is.
- [02:04] Shoulders. Think specifically about the muscles in your shoulders and about not using them. Pick them up and let them fall to find where they land naturally. Then set the bench distance so the elbow makes a right angle and the whole keyboard is reachable without moving the back.
- [03:16] The wrong way, which he used to use: hand over the key, press with the whole weight of shoulder and arm. [03:41] The right way, from Herbie: contrary motion between the fingers, very gently, which is what gives a soft touch.
- [04:30] The mechanic. Hands relaxed, lift one finger, it touches the key you want, then the next finger, and all you do is flick the fingers in between each other. No arm pressing.
- [06:24] "Never press." The self-check: if you feel like you are using muscles intensely in your fingers, you are working harder than the music requires. If it hurts and it is tight, re-examine it and practice very slowly.
- [08:03] He also cut almost all carbs and sugars, because they are inflammatories and inflamed tendons are the problem, drinks a lot of water, and does daily cardio for blood flow. At [08:57] he says plainly that he is not a doctor and this is what worked for him.
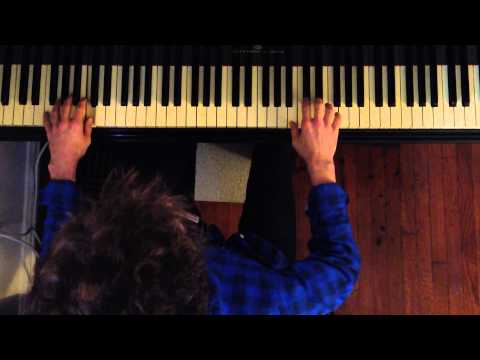
Learn to play fast
- [00:22] The framing you should not skip: "speed means nothing without musicality."
- [01:10] Herbie's touch guidance again, "a specific way to use the hand to get the optimum touch," and the claim that it increased Greg's speed immensely.
- [01:44] The image to keep: "it's almost just like wiggling your fingers... it's like a flutter." Barely any pressure. No arm push.
- [02:09] Why you do not need to play hard: in real settings you are amplified. Be sensitive rather than loud.
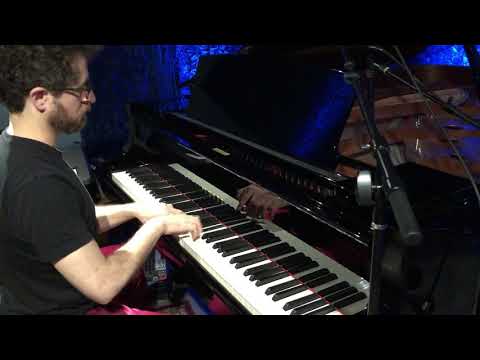
Morning warm up
- Watch this one with the sound down and your eyes on his hands and wrist. The auto-transcript is a machine artifact over music and carries nothing usable, so nothing in this lesson is attributed to what he says in it.
- What he says elsewhere about his warm-up material is reliable: the Beringer exercises Herbie introduced him to, his old teacher Jim Trumpeter's exercise, and Herbie's thumb-agility exercise. Those appear in A4.
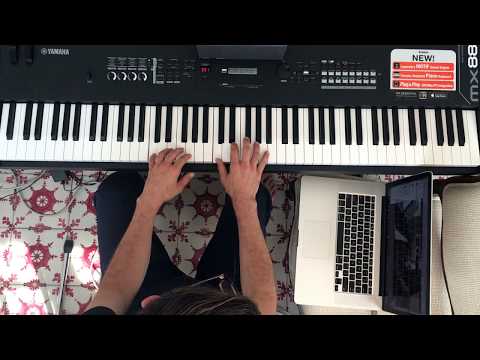
Basic Piano Lesson #1, [10:14] and [14:00] to [16:10] only
- Second viewing, now that you have played two weeks of scales. Watch the wrist and the fingers, not the notes.
- [10:14] Hand position. Elbows a little forward, because straight back "is not really a natural pose." A wrist held up in a bubble is the fault to fix, "that causes abnormal tension because then you're pressing with your fingers in a weird way" [11:27]. Wiggle the wrists out and let them fall.
- [14:17] You are "barely using any muscles," with the hand kept in line with the key bed rather than raised above it.
- [16:01] The image for contrary motion, in his words: "in kung fu, when you throw a punch with your right hand you bring your left hand back. It's the contrary motion that allows for the most force with the least effort."
At the piano
Everything below runs at conversation volume or quieter. Nothing in this lesson is practiced loud.
Where to look when a sentence is not enough. Hand position is the one part of this lesson that words are bad at. Two things stand in for a demonstration. Greg's written hand-shape description in his Poseidon lesson companion (https://poseidon.gregspero.com), with the related pages at poseidon.gregspero.com, gives you the shape as a checklist you can hold yourself to: a loose tennis ball, fingertips rather than nails, wrist level, forearms parallel to the floor, and the thumb sliding under through wrist flexibility rather than force. And Fingerings for Major Scales, the A1 video, shows the hand doing all of that at normal speed in both hands, so watch it a third time with the sound off and your eyes on the wrist. Between the checklist and the moving hand you have the demonstration.
What the measurements actually say, before you touch anything. Otto Ortmann ran the research lab at Peabody with a dynamograph and X-ray apparatus, and his 1925 conclusions still hold for a single note: differences in touch, so far as they affect the string, always involve differences in speed of key descent, there are only two touches (percussive and non-percussive), and all differences in tonal quality are differences in intensity. He also could not produce a genuine fff with a fully relaxed arm. He was right about the string and incomplete about the sound. Goebl, Bresin and Galembo, in 2004, played tones pressed and struck at matched hammer velocities. With the attack noises included, half the listeners told them apart, up to 86% accuracy. With the attack noises removed nobody could, and Goebl, Bresin and Fujinaga replicated that in 2014 on the same finger-key sounds. So a pianist's "beautiful tone" on one note is finger-key noise and timing, and in real music it is overwhelmingly voicing, which note in a chord is loudest and how the onsets are spread. That is a velocity decision and it is entirely yours.
Four numbers worth carrying. A struck touch reaches hammer velocities near 8 m/s and a pressed touch rarely exceeds 5, so loud attacks are only available by striking. The softest tones, down to 0.18 m/s, are only available by pressing. A struck tone reaches the string 30 to 40 ms sooner than a pressed one at the same velocity, so your sense of delay changes with your touch. And in fast alternating keystrokes, the difference between players' top tempos was explained by elbow velocity, not finger velocity. That last one is what Greg is showing you when he says stop pressing with the arm and flutter the fingers: the proximal joints do the work, the fingers deliver it.
The doctrine you are being handed, and who it came from. Greg's touch is not assembled from books. It came from one lesson at Herbie Hancock's house in 2012, and his notes from that week say it in four instructions: the hand stays in a natural position and does not twist when the thumb crosses under; the fingers press the keys, not the wrist; there is pressure from the arm but the arm is not bouncing; and the hand should look like it is gliding or hovering over the keys even while the thumb crosses.
The same notes carry an explicit overrule of a previous teacher, and it is the most useful thing in them for you. Greg had been taught to center the wrist over the playing finger. Hancock told him that is wrong, and to let the hand sit in its natural relaxed position without contorting or twisting it. Greg kept the correction and still teaches it.
That is the whole argument of this lesson in one anecdote. Two competent teachers gave opposite instructions about the same joint. You are going to keep meeting that, and the way through it is to know which school each instruction comes from, what it optimizes for, and what it costs, rather than to hunt for the authority who is right. Hancock's position is the hand-and-finger side of the axis, and it sits close to Fraser and far from the arm-weight school on your reading list.
Map the arm first. Your arm structure begins at the sternoclavicular joint, where the collarbone meets the breastbone, not at the shoulder socket. Your hip joint is where the femur meets the pelvis, not at your waist. Find both with your fingers. Thomas Mark's argument is that you move according to your internal picture of your body, so a wrong picture produces a wrong movement, and correcting the picture corrects the movement without drilling anything.
One note, four ways. Middle register. (1) Finger already resting on the key, depress it gradually, feel the escapement, let the key reach the bottom without a bang. (2) The same note struck from two centimetres above. Listen for the click of finger on key. (3) The quietest sound you can make. (4) The loudest sound you can make without effort. You have just heard, on your own instrument, what the acoustics papers measured.
The single-finger drop, which is where Greg started you on 9/6. Put all five fingers down on five adjacent white keys, holding them, no sound. Then, in his words, "lift just your middle finger up and then just let it like rest onto that note." Let it fall. Do not aim it and do not push it. The instruction that makes it work is the one he gave immediately after, and it is the whole touch in a sentence: "the sort of trick to this is the weight of that press, the motion is coming through your finger, but the weight is coming through your arm and through your back. It's like your wrist will come down a tiny bit when you play it."
Two errors he caught in the room. You do not pull the hand down to help the finger: "you don't purposefully pull your hand down like that." And the source of the energy is further back than it feels: "think the energy from it is sort of like coming from your whole torso even though you lift your finger up." The wrist dip is small. His words for the size of it, "it's like very slight dip that'll happen." When it looks right he says so, and the standard is worth quoting because it is the target for every note in this course: "that's what you want your hands to look like."
Run the drop on 3, then 2, then 4, then 1, in both hands. Between reps, if anything grips, use the protocol he repeated all afternoon: "if you feel tension, just shake it out and then very gently."
The pinky drop. Same setup, five fingers resting, and now the hardest finger, with an extra restriction. Greg's instruction, verbatim: "Just don't try to move any of your fingers, but just put the pressure on your pinky and just like gently drop it." The point of forbidding finger motion is that the fifth finger is the one people rescue with the wrist, the forearm or a lift of the whole hand, and the rescue is what makes the note louder than its neighbours and the hand tighter than it was. Nothing moves except the pressure arriving. The sound will be quiet at first. Let it be quiet, and get the sound from the arm sitting into the key rather than from any effort in the hand.
This is also the diagnostic for the evenness problem in your A1 scales. If the fifth finger is the loudest note in the left-hand scale and the softest in the right, the pinky is being thrown rather than dropped.
Free fall. Raise the forearm, release it onto one key with a structurally firm hand, let the key take the weight, rebound. No push after landing. Then the same onto a four-note chord.
Contrary motion, off the keys then on. Hold your hand in the air and wiggle two adjacent fingers so one lifts as the other falls. Then put the hand down anywhere and do the same thing on two keys. Then a five-finger pattern. This is Greg's drill and Herbie's drill, and it is the same mechanism Schultz described in 1936 when he separated the long flexors in the forearm from the small muscles inside the hand and argued the stroke should originate at the knuckle.
The rule about rounded fingers. Sakai's 2007 paper on interosseous pain in pianists' hands found dorsal hand pain during performance, "especially when striking the keys with each finger rounded, mainly in the scale technique." If your A1 scales are being played with high, curled, individually lifted fingers, that is the pattern in the paper. Flatten toward a natural hand shape and initiate at the knuckle.
Exercises
1. The daily warm-up, 10 to 12 minutes, before every session, permanently. Do:
- Away from the piano, 2 min: shoulder rolls, gentle neck rotation, arm swings, wrist circles. Nothing forced to end range.
- Sitting and hanging, 1 min: bench set, arms suspended, hands resting on the keys, no sound, no holding anywhere.
- Single tones, 2 min: non-percussive, pp to mp, one note at a time, both hands, listening to the attack.
- Free-fall drops, 2 min: single notes then chords, drop, land, rebound, at mp then f.
- Rotation and in-and-out, 2 min: slow two-note rotations on a fifth, then a five-finger pattern that includes black keys, moving the whole unit in toward the fallboard for black keys and out for white. Never reach with the finger.
- Slow scale, 1 min: one octave, hands separate, at a tempo where every motion is visible. Done when: you have run it before every session for fourteen consecutive days, logged.
2. Sit and hold nothing
Do. Bench set, hands on the keys, playing nothing, for two minutes. Scan for holding at the jaw, neck, shoulders, forearm, thumb web.
Done when: two minutes with no holding you can detect, and you can name and point to the four joints of the arm structure from memory.
3. Pressed against struck, matched volume
Do. Record ten pairs of the same note at the same loudness, one pressed and one struck. Play the recording back to someone who did not watch.
Done when: you can hear the attack-noise difference yourself, and you can state in one sentence what touch does and does not control.
4. Voicing, which is what tone actually means
Do. A five-note chord, played repeatedly, bringing out one note at a time while the others recede. Top, then bottom, then each inner voice.
Done when: someone in another room can name which voice you are bringing out, four times in a row.
5. Contrary-motion scale
Do. One octave of C major, hands separate, at 40, using only the flutter touch. No arm push, no finger lift above the key surface. Then the same at half the volume.
Done when: you can play four octaves at 40 and feel nothing in the forearm afterward.
6. Tension audit on a real passage
Do. Take the left-hand part of the Satie you were working on, or the open-thirds pattern from River Flows in You. Play eight bars, stop, and write down every place you felt holding. Fix one of them.
Done when: the same eight bars run twice with no entry in the log.
7. The drop drills, in the daily warm-up permanently
Do. Two minutes, added to the warm-up between step 2 and step 3. Five fingers resting on five white keys, no sound. Lift one finger, let it rest back onto its note, weight from the arm and the back, wrist dipping slightly. Order: 3, 2, 4, 1, then 5. On the fifth finger, change nothing except the rule: no finger moves at all, the pressure goes to the pinky and it drops. Both hands. Record thirty seconds of it on your phone from the side, at hand level, and watch the wrist rather than the fingers.
Done when: on the video the wrist dips slightly and returns on every drop with no lift of the hand or forearm, all five notes of a run of five drops are within one dynamic of each other in each hand, and the fifth-finger drop is no louder or softer than the third.
Checkpoint
- The warm-up routine, run on video end to end, under twelve minutes.
- Fourteen consecutive logged days of it.
- The pressed-versus-struck recording, and your one-sentence statement of what touch controls.
- Four octaves of one scale at 40 with the flutter touch and no forearm sensation.
- Say aloud, unprompted, the three injury warning signs that mean stop, and the one that means see a specialist.
Read
Five things, in this order. Do not buy all of them at once.
- Thomas Mark, What Every Pianist Needs to Know About the Body. Short, factual, checkable against an anatomy text, and it fixes the largest single class of technical problems at the root. Read the chapters on arm structure and suspension of the arms first. Publisher
- György Sándor, On Piano Playing. The taxonomy: free fall, five-fingers/scales/arpeggios, rotation, staccato, and thrust. Five categories to name what you are doing. Archive
- Penelope Roskell, The Complete Pianist. The one book that is current, clinically grounded, comprehensive and demonstrated on video. Roskell is Piano Advisor to BAPAM and runs a clinic for injured pianists. This is the spine if you only own one. Publisher
- Goebl, Bresin & Fujinaga 2014 (DOI) and Ortmann's 1925 conclusions (full scan). Twenty pages between them. What touch does and does not do.
- Golandsky Institute basic principles (link) and Alan Fraser, The Craft of Piano Playing (publisher). Read these two together, because they disagree with each other on the central question. Taubman forbids isolated finger action; Fraser has a whole section on maximal finger articulation. Fraser's "structure-supported slap" and "cobra strike" are real answers to the percussive articulation prog and fusion need, and arm-weight legato doctrine handles that badly.
Greg's own two documents, before any of the published books. His 2012 Herbie Hancock lesson notes, kept privately (ask Greg for them), are the primary source for everything in the touch section above. And his Poseidon lesson companion (https://poseidon.gregspero.com), at `(private file; ask Greg) with related pages live at poseidon.gregspero.com, is his written pedagogy for hand shape and fingering, including the loose-tennis-ball hand, fingertips rather than nails, level wrist, forearms parallel to the floor, and the thumb sliding under through wrist flexibility rather than force. Read both before you buy anything.
Three more, for context rather than method. Neuhaus (archive) for the hierarchy that the sound you want dictates the motion, which is the composer's relationship to technique, and not for any physical prescription. Bernstein's 20 Lessons in Keyboard Choreography (archive) for one idea you will use: he invents symbols for finger, wrist and arm motion so a motion plan can be written into a score the way fingering is. You are writing music nobody has played; notate your own choreography. Matthay (IMSLP) for the durable idea that movement and exertion are different variables, so you cannot judge anybody's technique from a video of their hands.
On exercise books. Greg uses Beringer on Herbie's advice and says in Basic Piano Lesson #1 that he has not done Hanon "in like probably six years" [19:32], because Beringer covers every black-and-white-key combination and Hanon has no black notes [19:11]. That is the right instinct for a documented reason: Hanon's own instructions tell you to lift the fingers high, which is the pattern Sakai associates with extensor tendinitis and interosseous pain, and the premise that weak fingers should be strengthened to equality is rejected by Taubman, Fraser, Mark and Chang alike. If you want an exercise book that is actually about your problems, use Brahms, 51 Exercises, WoO 6 (IMSLP). They are compositional-technical problems rather than finger strengtheners: displaced rhythms, three against four and worse, double notes, wide leaps, and awkward thirds and sixths, several marked for all keys, which is a list of prog and fusion problems first published in 1893. Skip Dohnányi's held-note independence exercises entirely; they are sustained co-contraction, which is the mechanism of injury Thomas Mark names.
Injury: the short version, pinned above the piano. Stop and reassess for pain, for tension or fatigue that recurs in the same place, and for tingling, numbness, burning, weakness or stiffness. The ISM states it flatly: if you experience fatigue, rest; if you experience pain, stop playing and seek help; "no pain, no gain" is false. See a performing-arts medicine specialist for wrist pain on stretching the thumb, for numbness or pins and needles, for a click or block when a finger moves, and immediately for any uncontrolled finger movement or inability to move a finger, which is the focal dystonia picture and will not resolve on its own. The controllable risk factors, from the evidence: practicing over four hours a day, any abrupt increase in practice time, playing chords forcefully, hyperabducting the thumb and fifth finger in octaves, extreme wrist extension, and playing an hour without a break. Break every twenty minutes. Your non-musical load counts: typing all day is part of your practice total.